

iPhone ReachUC SMS
Content
Functions and Features
SMS/MMS Feautures
Texting
Adding Attachments
Send
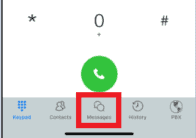
Texting
User/extension with a direct phone number will be able to text internally with users in their company domain. To use sms/texting features with an external phone number a 10DLC Brand and Campaign registration must be completed. A direct dial phone number assigned to the extension/user is needed as well. Please reach out to the Telephony Team to complete the 10DLC registration process and assign a direct phone number.
Adding Attachments
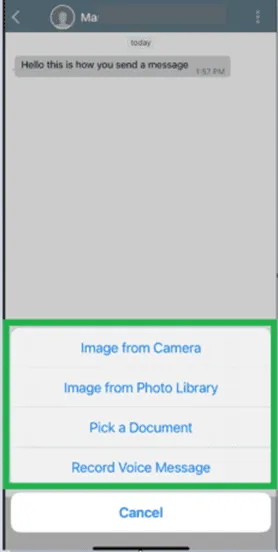
You can add attachments to the message. Click on the Paperclip icon in the Message Bar to bring up the following options.
Send
Click on the Send Icon to the right of the Message Bar once you have completed your message and adding attachments.
